


Friday, May 4, 2012

Guest Posting {available}

I've been thinking...for quite some time now...and just have never got around to asking.

I think it's about time I have some guest posts here on Sweet Little Gals!! Ya think?

But before we get into all of that, I must admit a few things to you.

1)  I know NOTHING about guest posting, NOR do I have a button.  That is a button with a code that you can take over to your blog and say you are posting over here.

I know, pathetic.  But it's the truth.  I know how to make some kinds of buttons per say, just not the code that goes along with them. 

So unless one of you is awesome at doing those, I will have to do the guest posts without a button with a code until further notice.

I also don't even have a clue how I would "get" a guest post?  Do you send them over e-mail or do I give you a temporary password?  Have NO idea.

2)  The other thing is that I have to tell you that I cannot necessarily promise that I would be able to return the favor, which is the reason I haven't ever asked for guest posters before.

For one, I'm not that great at deadlines.

The other, LIFE is busy with the babies right now and I don't want to disappoint anyone saying that I will FOR sure take on a guest post if I am not FOR sure that I would be able to.

Hope this makes sense.

BUT...

I would still like to offer up the opportunity for any of you to do a guest post HERE if you would like to.

I am interested in posts on photography, crafting, or cooking...just mostly a post filled with fun pictures and things!!  (tutorials are awesome)

If any of you are interested, please let me know and we can work from there.  

You can e-mail me at saericks@yahoo.com

Hope your Friday is spectacular!!

Thursday, May 3, 2012

Specially for Kids #2 {Girly Photos}

Welcome back to Specially for Kids!!

I'm always so happy to have you here to visit.


I'm sorry I was MIA last week...I even had a post planned but life just got in the way
and I just couldn't get to posting.  {I'm sure no one knows how that goes?!!}

If you missed my first Specially for Kids, you gotta check out the fun Crayon Canvas we made.  It was a blast!
This week has been GORGEOUS here in ND and I got my camera out again finally!

I put it away for such a long time.  I've missed it.

I have a ton of fun photos to share of my girls {surprise, surprise!}
I hope you enjoy them.

I am a portrait photographer at heart, and so I am always trying to capture someone in my lens.
Since my girls are the ones around to capture they end up being in MOST of my pictures!

{Someday I promise I will actually appear in a picture or two.  I desperately NEED some new ones of me. Ha}

I hope you don't mind.  hehe


Thank you for letting me share!!  


And thanks for joining me for 


Tuesday, May 1, 2012

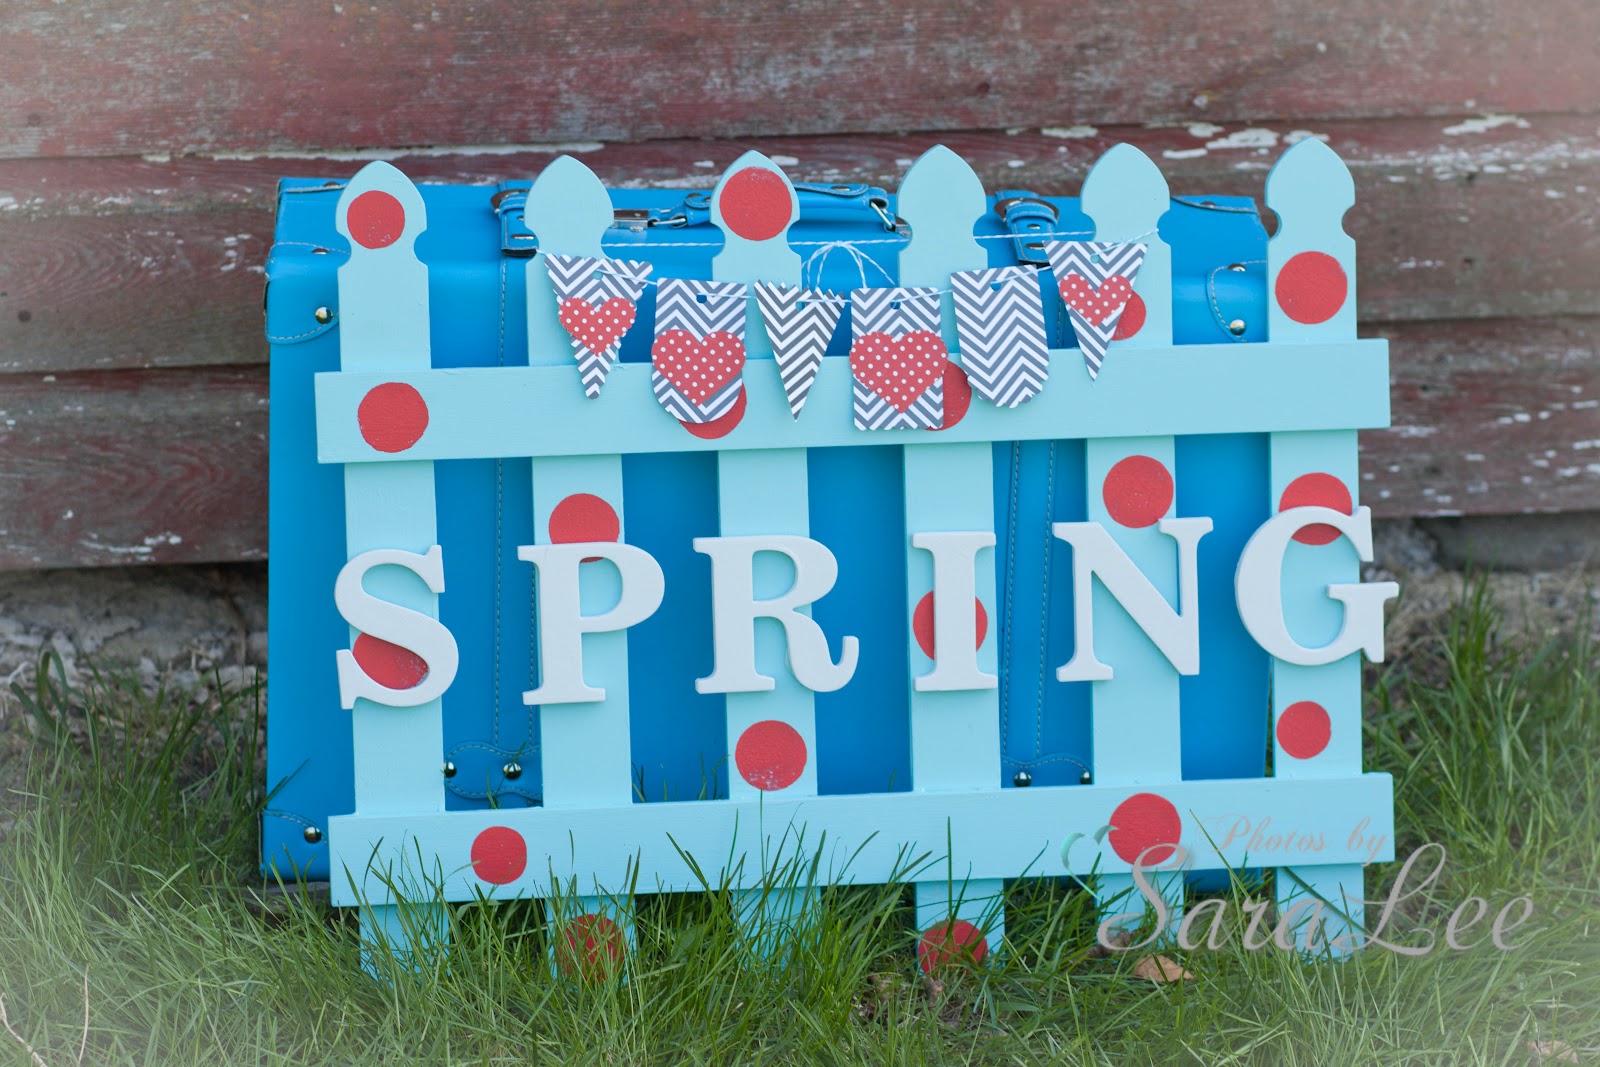
Polka Dot Picket Fence

You know all of those beautiful picket fences out there?

Gorgeous.  Lovely.  Simply ADORE them.

HAD to have one.  But I wanted to do something a little different.

So I got my creative juices flowing and came up with something I think is kinda fun
and different. 

POLKA DOTS.  Lots of them.

Have you ever seen those way cool dot painters from Martha Stewart? {At least that's what I call them}

I got some and had a blast with 'em.  They are SO easy-peasy it's not even legal.
Who knew that you could actually paint polka dots without too much hassle?

I'm sure I'm WAY behind as usual, but they are new to me, so I guess I feel it's worth the excitement. Ha!

I hope you like what I came up with as much as I do. 

(I used my favorite color scheme as always. {grin})

All I did was paint the fence a bright turquoise color...and then painted red polka dots randomly on it.


Then I painted some chipboard letters with off white paint and glued them onto the fence.  


To finish it off, I added a cute little banner with hearts that I made with my 
silhouette and tied it on with baker's twine.


Easy and fun and exciting!!  


Ally kept trying to sneak into my pictures, so I finally had her pose with my fence!


Linking up with these parties as always


Monday, April 30, 2012

Turquoise Lovin' #36

Happy Tuesday!!  It's time for turquoise lovin' again.

Hope your week has been sweet and full of sunshine.

I was so excited by all of the fun talent that was linked up last time.

You ladies are awesome as always.

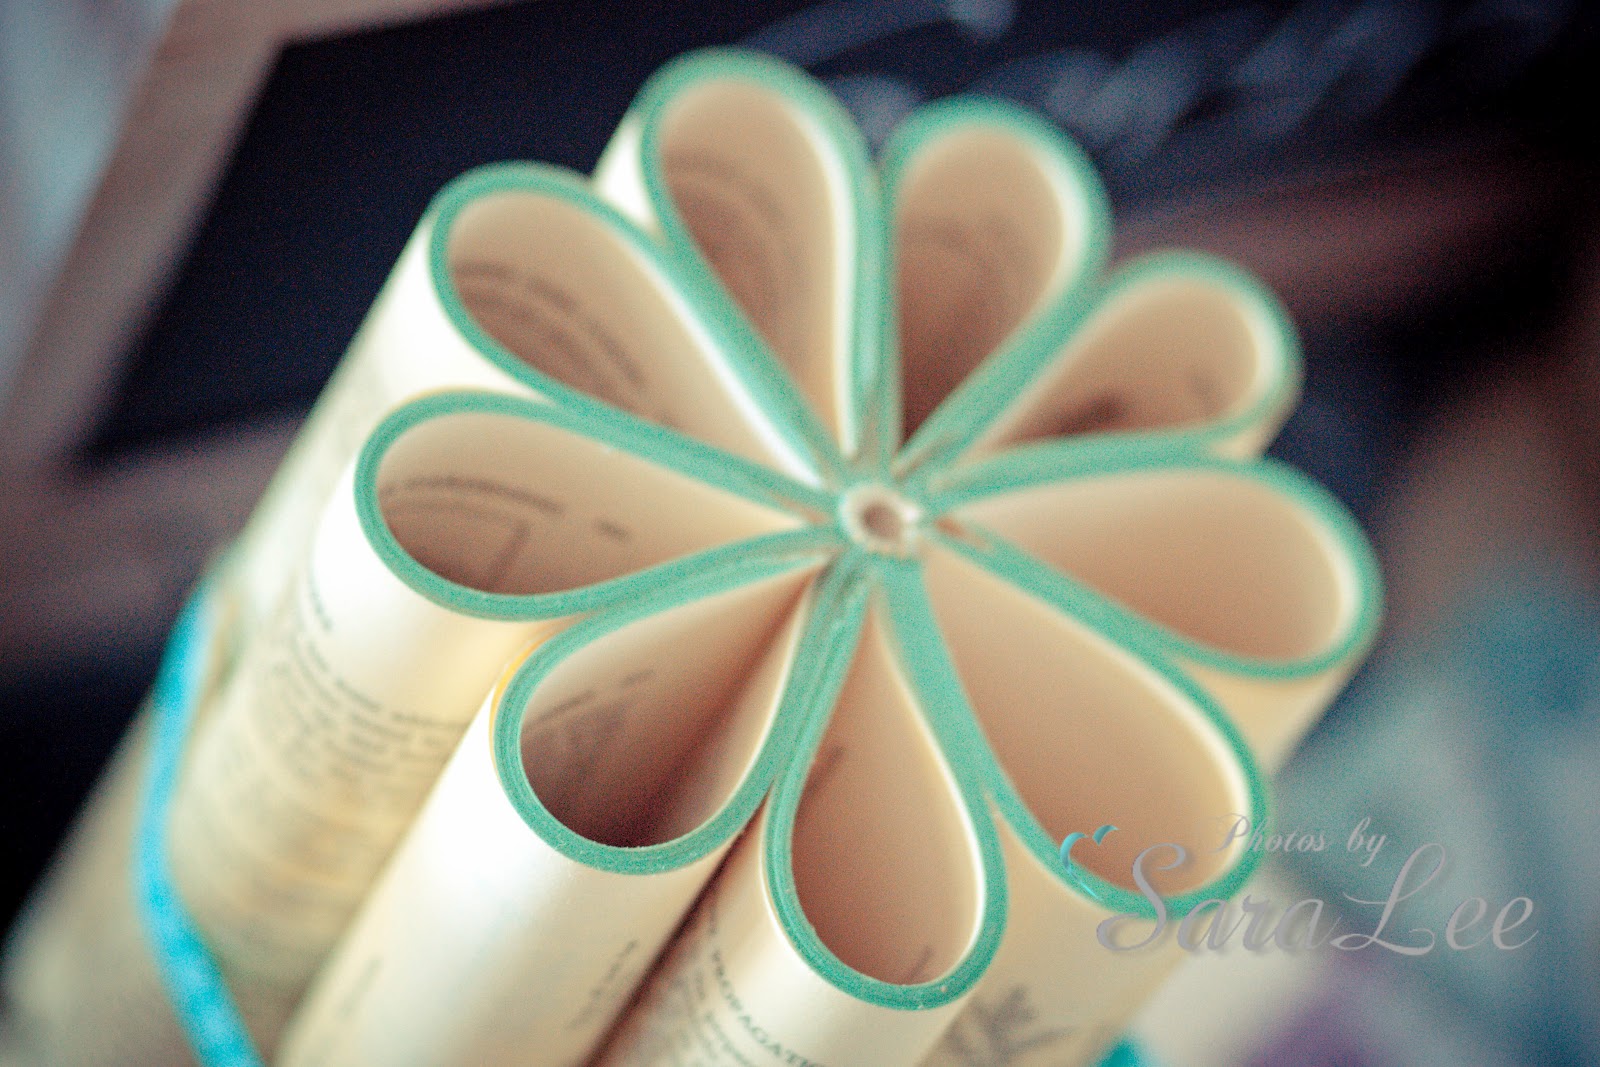
Hope you get a chance to check out my fun vintage book flowers.   They are kind of unique and cool and cheap to make also!

Here are the features of the week.

Love this painted utility rug from Vixen Made.  


Darling Animal silhouettes Wall Art from Mae Armstrong Designs...cuteness!!


Adore this creative memo board from an old door from The Space Between!!  How fun!!


And this flower art is so gorgeous from Creative Passage


Ok, it's time to party!!  Time to link up YOUR projects from the week!!

Party Rules...
1) Please follow Sweet Little Gals
2) Link up your turquoise/red projects at the top linky...anything else in the bottom linky. Excited to have EVERYONE join from now on! We'll still feature a couple of your turquoise projects every week...
3) Try to comment on at least two other posts.
4) PLEASE grab a turquoise lovin' button on the sidebar so you can share the turquoise fun with others.
5) No giveaways or shops please.

Enter all of your TURQUOISE  projects here... 


 Enter all OTHER PROJECTS here... 


Sunday, April 29, 2012

A Touch of Vintage #3 {Vintage Book Flowers}

Back for #3 of A Touch of Vintage!!  I've been having a lot of fun searching for vintage stuff and can't wait to show you my project for this week.


I found it in the Easter Issue of Celebrate, my new favorite magazine.

I'm so excited about these I can't contain myself!!  

So here they are,  
Vintage Book Flowers

I just love how unique they are, and oh SO vintage!!


Here's how I made them.

First you need to get some cheap used books and remove their covers. Be sure to leave the spines intact.


Then follow these directions to finish the flowers.

Step 1:  In groups of 20 to 25, tuck the pages towards the spine of the book, working all of the way to the end of the pages creating the flower petals.


Step 2:  Tie some fishing line (or I used crafting wire) around the flower to hold it together.  This part required hubby help for me, it was kind of impossible to do by myself.  He held the flower while I tied!!

Step 3:  Spray paint in your desired color.  I used two or three coats to get my desired color.  Allow to dry.

Step 4:  After flowers are dry, tie ribbon around the flower to conceal the fishing line.  

Note:  For the varying heights, I brought my books to the local print shop and had some of them chopped in half.  They look at you kind of funny when you ask to chop books in half but it's worth it and not too much to pay.  Ha!

Here's some more pictures of them {overload, I know}


You can use the flowers in a centerpiece or whatever else you'd like to decorate with them.
They're pretty versatile.

A very simple and fun project.

Remember, you are welcome to link up your vintage projects too.

I would LOVE to see them.

Thanks for joining me for another


Link Within

http://www.mysweetlittlegals.com/feeds/posts/default?alt=rss