


Showing posts with label vintage. Show all posts

Monday, February 25, 2013

Vintage Bottle Banner

All it's made of is some fun vintage looking bottles and some twine.  So super easy and fun.

And I am thinking of adding some flowers eventually.

I used this banner for a recent vintage baby shower I did.  It really it quite versatile.

Hope you enjoy!


Here it was at the baby shower


Also be sure to check out the free Spring Printables 
right here on Sweet Little Gals!

Sunday, May 20, 2012

A Touch of Vintage #6 {Vintage Printables}

Today I want to share a list of fun vintage printables for you to enjoy that I've found
around blogland.

I have always loved printables because I can do whatever I want with them.  That way I can always make my very own version.

I know this printable was originally intended for Valentine's Day, but for me, it would work for every day of the year!!  Love this one very best.  You can get this vintage printable from Sissy Print


 These round vintage labels from World Label are so much fun.  
Any package would look lovely with them on it.


Here's some more adorable ones from World Label  These ones could have
SO many uses!


I can't get over how darling these vintage camera printables are from The Handmade Home
Just think of all of the fun things you could do with these!


Also from The Handmade Home are these cute vintage alphabet printables


And these have to be one of my very favorite I've found!!
Darling lemonade labels from J Bartyn Design.
{Can you say awesome?}


These are just lovely from World Labels again...
LOVE the colors!


Have you found any cool vintage printables lately?  I would love to hear about them.

Also if you have any vintage fun to link up, you are always welcome to. 

Thanks for joining me for another 


Tuesday, May 15, 2012

A Touch of Vintage #5 {Camera Signs}

 {I'm taking a couple of weeks break from my Turquoise Lovin' party as I am not sure what I'm doing with it in the future.  I think I will be coming back with a Tuesday party for all projects, but I want to change the name and get a button and all of that before I do it again.  Hope you all won't forget about it in the process!}

Welcome back to A Touch of Vintage #5!!  I have a REALLY fun project to share with you today.

It combines my love of photography with my crafting love and it can't get much better than that, can it?

For Christmas this year I was lucky enough to get a Silhouette Cameo.  I've just started to discover what I REALLY am able to do with it.  And now that I have done stencils, the silhouette world is mine!  ha!

I made these signs with simple wooden boards from Wal-Mart, cheap as can be!

Then I painted the boards with two coats of the first color.  {I am HORRIBLE at taking pictures along the way...I like to just get the project done!!  Sorry...}

I let the first color dry completely.  Then I cut out the camera stencils on my silhouette on adhesive cardstock.  You can find these particular patterns if you look under cameras on the silhouette site.

I stuck the stencil onto the board and made sure it was stuck very well.
Be careful to center it right the first time since
it can be hard to get off without tearing.

Then I painted the second color on very carefully!  The second and third times, I used my round sponge painter...and just painted everywhere over the stencil.  {Kind of like stamping!}
I waited about two or three minutes and took the stencil off.  You may be able to take it off after the paint dries, but I was scared that it would stick too much so I didn't.

After I let the second coat dry for a few hours, I took some sandpaper and distressed the edges and sanded around the whole sign just to give it a vintage look.

I fastened them to the wall with my very first command strips which I am now IN LOVE with!!

In some of the last pictures you will also see my fun chevron sign I made that I hung up to go with my camera signs.  It kind of adds a bit of interest to the mix.

I just LOVE how everything turned out!!  Hope you enjoy looking at pictures as I ALWAYS overdo it.   {grin}


Remember, you are more than welcome to 
link up YOUR projects here too, just to share them.


Thanks for joining me for another


Monday, May 7, 2012

A Touch of Vintage #4 {Mother's Day}

Today I thought I would share some fun Mother's Day ideas I ran into.

If this is your first time here you probably missed my first three posts, A Touch of Vintage {First Edition}, A Touch of Vintage #2 {Retro Tray Redo}, and A Touch of Vintage #3 {Vintage Book Flowers}. 

I've been having a ton of fun thinking of vintage projects to do!!  And thank you to those of you who have been sharing your projects as well.

One thing I thought I should note is that the linky I do here on A Touch of Vintage is kind of an easy going linky party...mostly just for sharing between all of us vintage lovers.

So I don't have a button with a code or anything fancy like that...just enjoy and don't worry about the technicalities.  Maybe I will eventually make it into a large party, but for now, I just think I'll keep it easy.  One big party is enough for my week!!  ha!

Here are some fun Mother's Day gift ideas I found that I thought were awesome.


I love this rustic wood cutting board I found on Etsy So stinkin' cute!


This Vintage Styled Bag is so lovely!!  I can't think of any mom that wouldn't like this!


I would LOVE to have this vintage photo frame in my own house...SO cute!


And look at this gorgeous Vintage French Photo Album!  Love all of the details.


Here's one for the modern moms out there...a Pink Roses i-phone case...how darling!


And last but not least, what mom wouldn't LOVE to have a vintage tea party? 
I love the clock idea!


Hope you all have a lovely day!! 

Thanks for joining me for another


Sunday, April 29, 2012

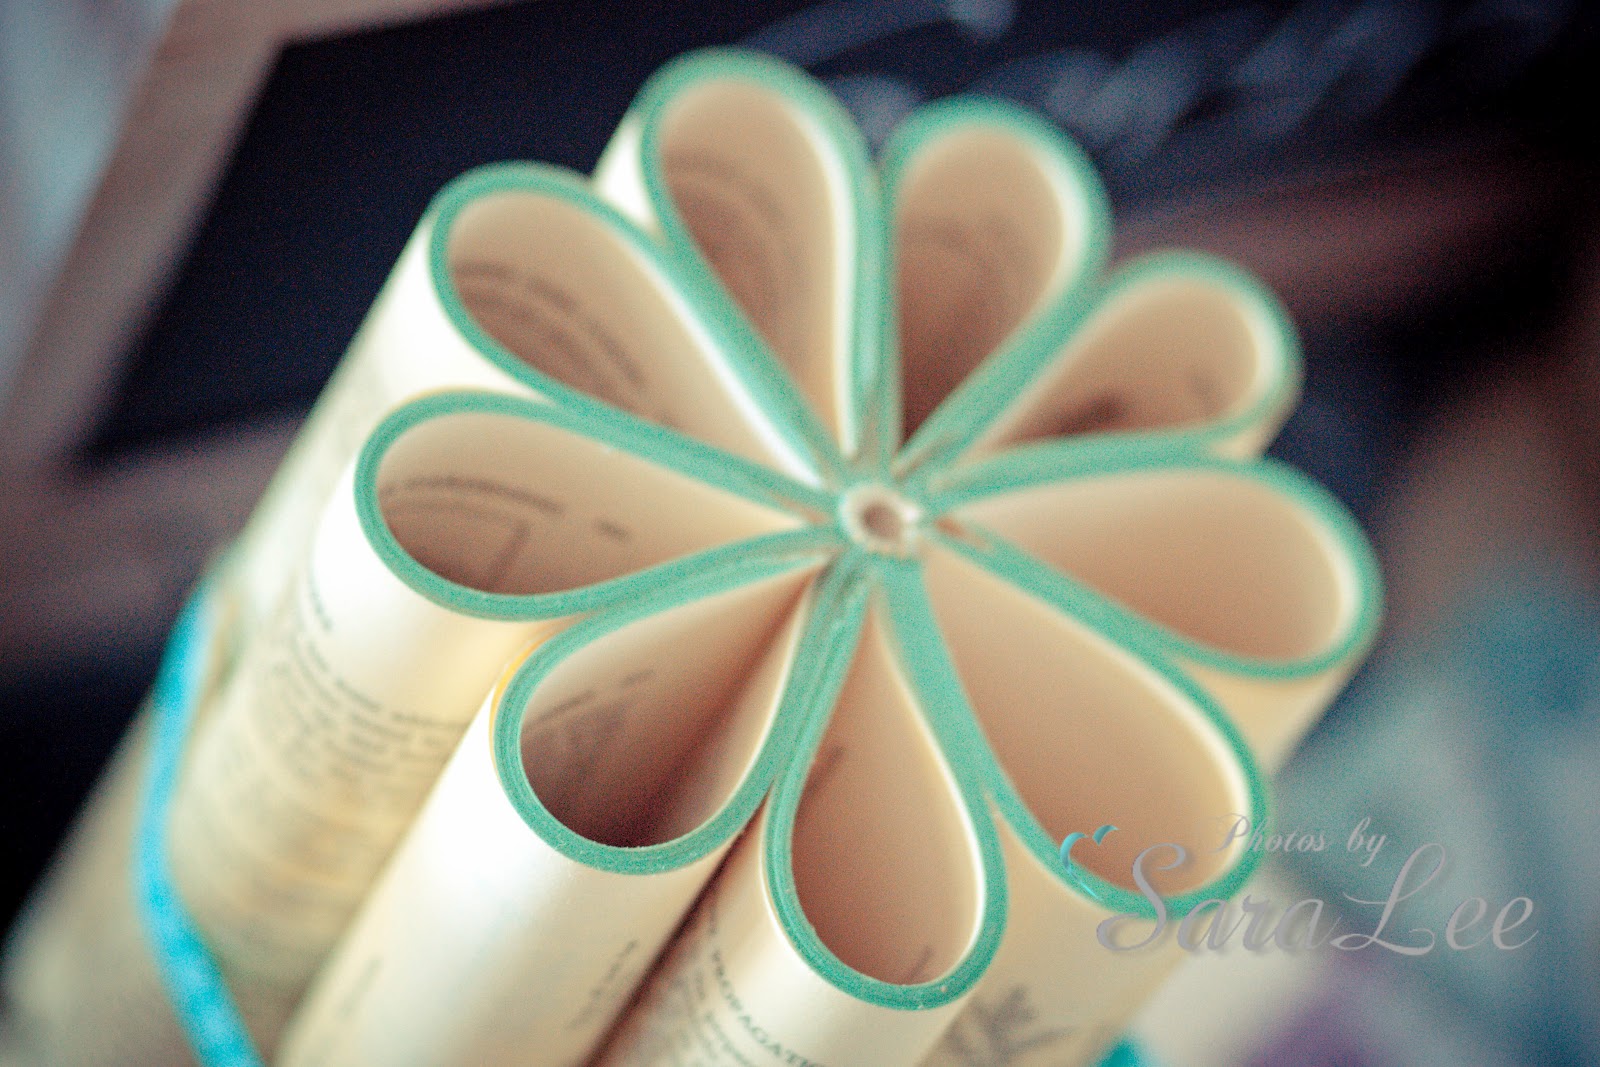
A Touch of Vintage #3 {Vintage Book Flowers}

Back for #3 of A Touch of Vintage!!  I've been having a lot of fun searching for vintage stuff and can't wait to show you my project for this week.


I found it in the Easter Issue of Celebrate, my new favorite magazine.

I'm so excited about these I can't contain myself!!  

So here they are,  
Vintage Book Flowers

I just love how unique they are, and oh SO vintage!!


Here's how I made them.

First you need to get some cheap used books and remove their covers. Be sure to leave the spines intact.


Then follow these directions to finish the flowers.

Step 1:  In groups of 20 to 25, tuck the pages towards the spine of the book, working all of the way to the end of the pages creating the flower petals.


Step 2:  Tie some fishing line (or I used crafting wire) around the flower to hold it together.  This part required hubby help for me, it was kind of impossible to do by myself.  He held the flower while I tied!!

Step 3:  Spray paint in your desired color.  I used two or three coats to get my desired color.  Allow to dry.

Step 4:  After flowers are dry, tie ribbon around the flower to conceal the fishing line.  

Note:  For the varying heights, I brought my books to the local print shop and had some of them chopped in half.  They look at you kind of funny when you ask to chop books in half but it's worth it and not too much to pay.  Ha!

Here's some more pictures of them {overload, I know}


You can use the flowers in a centerpiece or whatever else you'd like to decorate with them.
They're pretty versatile.

A very simple and fun project.

Remember, you are welcome to link up your vintage projects too.

I would LOVE to see them.

Thanks for joining me for another


Link Within

http://www.mysweetlittlegals.com/feeds/posts/default?alt=rss